
Ceiling fan wiring means connecting black, white, and ground conductors inside a ceiling box and configuring a wall switch for motor and light control. Done correctly, the process is manageable for a careful homeowner. Done wrong, it creates shock hazards, flickering fixtures, and tripped breakers. Here is what every Kansas City homeowner needs to understand before starting.
What the Wires Inside a Ceiling Fan Actually Do
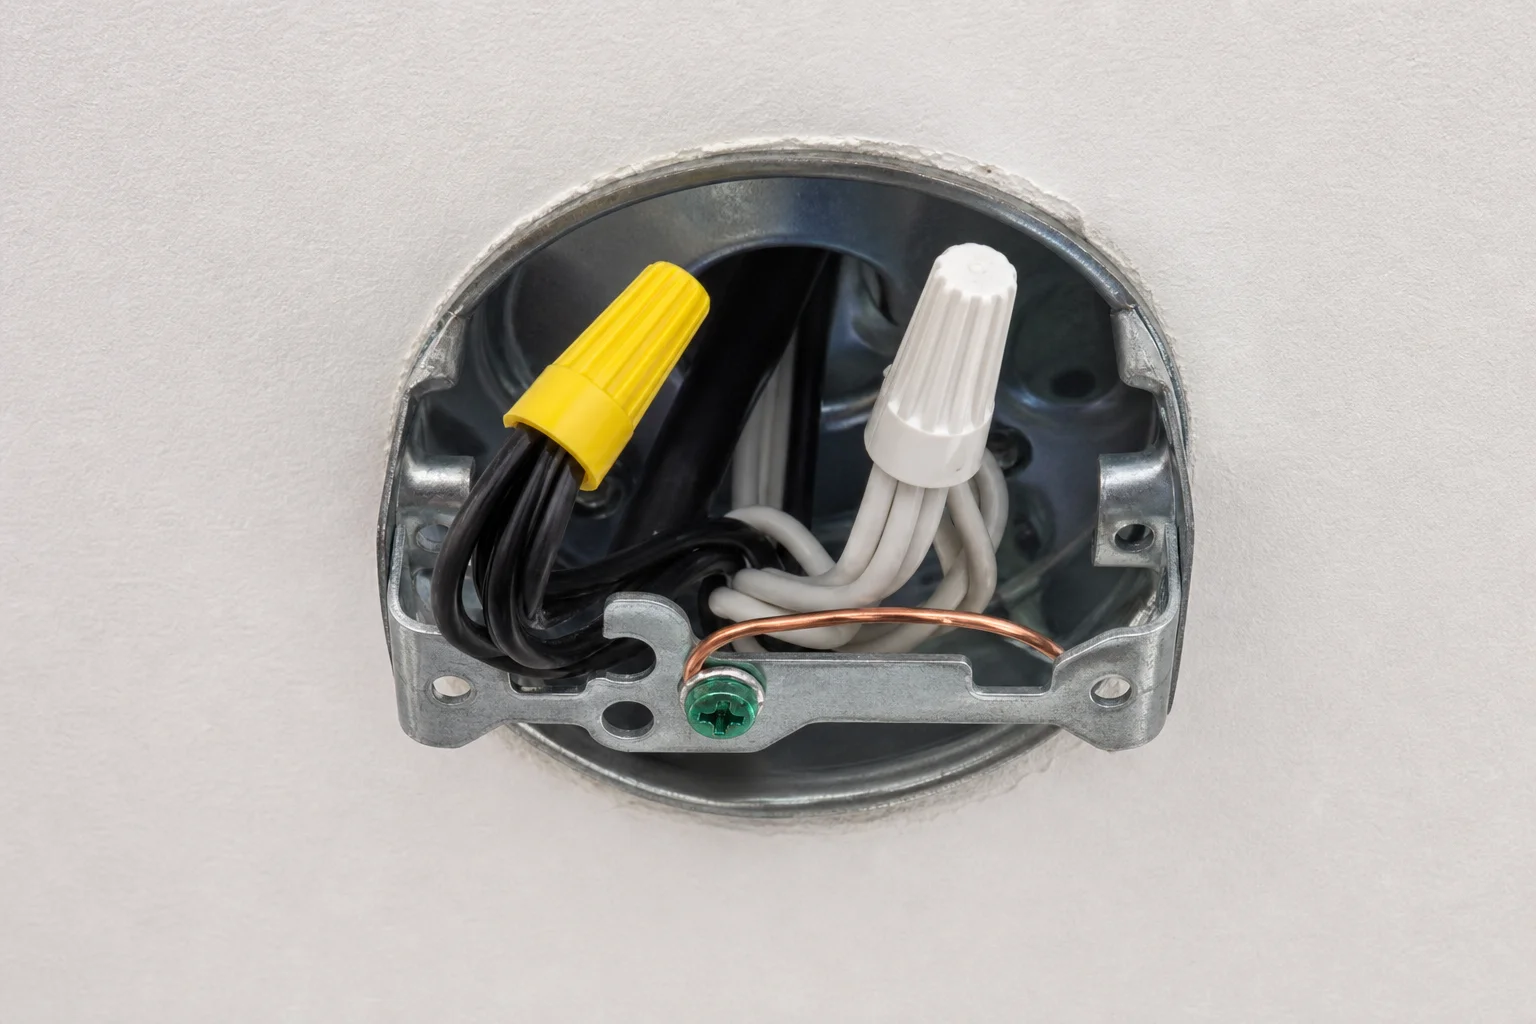
When you wire ceiling fan components, you are working with three or four conductors. Most ceiling fans include a black wire (hot), a white wire (neutral), a green or bare copper ground wire, and sometimes a blue wire for the light kit.
The black wire carries live current from the circuit breaker to the fan motor. The white wire is the neutral, completing the circuit by returning current to the panel. The ground wire diverts fault current away from the fan housing and mounting bracket, protecting anyone who touches the fan. The blue wire, when present, powers the fan light kit independently from the motor.
Understanding what each conductor does before you wire ceiling fan hardware is foundational. Mix them up and you risk shock, motor damage, or a persistent circuit that trips repeatedly.
Turn Power Off Before You Touch Anything
Before you wire fan hardware or loosen a single screw at the ceiling box, you must turn power off at the main breaker panel, not just at the wall switch. Here is the correct sequence:
- Locate the breaker controlling the room.
- Flip it to OFF.
- Return to the ceiling box with a non-contact voltage tester and confirm zero voltage.
- Only then remove the existing fixture and begin wiring ceiling fan connections.
A wall switch cuts the hot leg locally, but other conductors in the same box may still be energized from a shared circuit. Always verify with a tester. Follow the manufacturer's installation instructions for your specific fan model as a secondary reference, but never skip the voltage check.
The most common electrical injuries during ceiling fan installation happen when someone assumes the wall switch was enough.
How to Make the Standard Wiring Connections
For a basic single-switch setup, here is how you wire ceiling fan hardware step by step:
- Connect the black wire from the ceiling to the black wire on the fan using wire nuts. This is the hot connection.
- Connect the white wire from the ceiling to the white wire on the fan using wire nuts. This is the neutral.
- Connect the ground wire from the ceiling box to the green screw or green lead on the fan mounting bracket. This is your safety connection. Never skip it.
- If your fan includes a light kit, twist the blue wire together with the black fan wire and secure with wire nuts. One wall switch will then control both the fan motor and the fan light together.
Make sure every wire nut is tight. Tug each wire after twisting to confirm it holds. Loose connections cause arcing and heat buildup, which are fire hazards.
Single vs. Dual Switch Configurations for Ceiling Fans
How you configure the switch depends on whether you want the fan motor and ceiling fan light to operate independently.
Single Wall Switch
In a single-switch setup, both fan and light run off one wall switch. Connect the blue wire and the black wire together at the hot supply, and they activate together. This is the simplest installation for ceiling fans replacing a standard light fixture.
Dual Wall Switch
A dual wall switch gives you separate control: one switch for the motor, one for the fan light. In this wiring configuration, two hot conductors run from the switch box to the ceiling box. One connects to the fan's black wire (motor), and the other connects to the blue wire (light kit). The white wire and ground wire connect the same as in a single-switch setup.
Installing ceiling fan hardware for dual-switch control requires a 3-conductor cable running between the switch location and the ceiling box. Wiring ceiling fan connections this way gives homeowners full independent control over fan speed and light. Many older Kansas City homes only have a 2-conductor cable in the wall, which limits you to a single control without running new wire. A licensed electrician from Veteran Electric KC's residential electrical services team can run the correct cable and install a dual switch as part of your fan installation.
Common Mistakes When Wiring Ceiling Fans
Knowing what to avoid is as important as following the installation instructions.
Reversed black and white wires: Connecting the white wire to the hot supply energizes the neutral side of the circuit. This is dangerous, violates code, and can damage the fan motor.
Missing ground wire connection: Some older homes lack a ground conductor in the ceiling box. Even so, connect the fan's green ground wire to the metal mounting bracket. Then schedule an inspection. The National Electrical Code (NFPA 70, 2023 edition) requires fan-rated support boxes and proper grounding for all ceiling fan installations.
Wrong ceiling box: Standard octagon light boxes are not rated for the weight and vibration of ceiling fans. Use only a fan-rated box anchored to a joist or approved brace bar.
Loose wire nuts: A wire nut that spins freely after twisting is not making a complete connection. Rewire and use the correct size for the conductor gauge.
No voltage confirmation: Always test before touching wires. Never assume the wall switch killed all power in the ceiling box. Confirm with a non-contact voltage tester every time.
Older Kansas City homes often reveal surprises during installation: aluminum wiring, missing grounds, undersized circuits. If anything looks unfamiliar or unsafe, stop and contact a professional.
Frequently Asked Questions
Do I need a permit to install a ceiling fan in Kansas City?
Replacing an existing ceiling light with a ceiling fan on the same circuit typically does not require a permit. Adding a new circuit, running new wiring, or relocating the ceiling box does require one. Check with your local building department or ask a licensed electrician before starting any work.
Why does my ceiling fan light flicker after installation?
Flickering usually signals a loose wire connection at the wire nuts, a dimmer switch incompatible with fan motor loads, or a mismatched bulb type. Check all wire nut connections first, then evaluate whether your wall switch is rated for fans. Standard light dimmers are not compatible with most ceiling fans.
Can I install a ceiling fan without an existing ceiling box?
No. Ceiling fans require a fan-rated ceiling box anchored to a joist or brace bar before installation. Mounting a fan to an unrated fixture box is both a safety hazard and a code violation under Kansas City electrical code.
What if my ceiling box has no ground wire?
Attach the fan's green ground wire to the metal mounting bracket. Then schedule an inspection with a licensed electrician to evaluate whether the ground wire needs to be run to the box. Operating ceiling fans long-term on ungrounded circuits increases shock risk and should be corrected as soon as possible.
How do I know my wiring ceiling fan setup is correct?
After all connections are secured and the fan is mounted, restore power at the breaker and test all fan speeds. Verify the fan light functions if a light kit is installed. Listen for unusual hum or vibration, which often indicates loose connections or an imbalanced blade. If anything seems wrong, turn power off immediately and recheck all wire connections.
Ceiling fan wiring is straightforward when everything is in order, but when the wiring does not match expectations, the box is not fan-rated, or you are working in an older Kansas City home with surprises behind the walls, call a team you can trust. Contact Veteran Electric KC and let our licensed electricians handle your installation the right way.


